Inspirescroll
In today’s fast-paced world, staying connected is more crucial than ever. Whether it’s for personal or professional reasons, missing an important call can sometimes lead to missed opportunities or misunderstandings. Thankfully, voicemail services on smartphones like the iPhone ensure that you never miss out on important messages, even when you’re unavailable to take the call. Setting up voicemail on your iPhone is a straightforward process that can save you a lot of hassle in the long run. This article aims to provide a comprehensive guide on how to set up voicemail on your iPhone, ensuring you’re always in the loop.
Understanding Voicemail on iPhone
Voicemail, a system that allows callers to leave you voice messages, is a feature included in nearly all cellular plans. The iPhone’s integration of voicemail is seamless, offering features such as visual voicemail, which allows users to see a list of messages and choose which ones to listen to or delete, without having to dial into their mailbox. Before diving into the setup process, ensure your carrier supports visual voicemail. Most carriers do, but there can be exceptions, especially in regions with less technological infrastructure.
Step-by-Step Guide to Setting Up Voicemail
1. Accessing the Phone App: The journey to setting up your voicemail begins by tapping on the Phone app, typically found on your iPhone’s home screen. It’s the green icon with a white telephone handset.
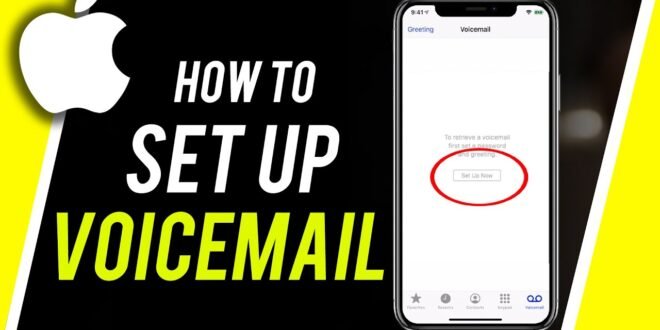
2. Navigating to Voicemail: Once the Phone app is open, look at the bottom right corner, and you’ll see the ‘Voicemail’ icon. Tap on it to proceed.
3. Setting Up Your Voicemail: If you haven’t set up your voicemail yet, you’ll be greeted with a setup screen. Here, you’ll have the option to create a voicemail password and record your greeting. Choose a password that’s secure yet memorable. As for your greeting, you can opt for the default one provided by your carrier or record a personalized message. Personalized greetings add a touch of personality and professionalism, depending on the context in which you’re using your phone.
4. Recording Your Greeting: If you decide to record a personalized greeting, tap on the option to do so. You’ll be prompted to record your message after a beep. Speak clearly and concisely. You can listen to your recording before saving it. If you’re not satisfied, you can always re-record it.
5. Finalizing the Setup: After setting a password and recording your greeting, your voicemail is essentially set up. Test it by calling your iPhone from another phone to ensure everything works as expected.
Tips for a Professional Voicemail Greeting
A professional voicemail greeting leaves a good impression and is key in maintaining effective communication. Here are a few tips:
- Keep It Short and Sweet: Your greeting should be concise yet informative. Include essential details like your name and a brief message indicating that you’ll return the call as soon as possible.
- Speak Clearly: Ensure your message is audible and easy to understand. Avoid background noise.
- Professional Tone: Maintain a professional demeanor, especially if you’re using your phone for business purposes.
Troubleshooting Common Voicemail Issues
Sometimes, setting up voicemail might not go as smoothly as expected. Here are solutions to common issues:
- Voicemail Not Working: If your voicemail isn’t working after setup, check your network connection. Voicemail requires a cellular network to function. If the issue persists, contact your carrier as there might be a problem on their end.
- Forgot Voicemail Password: If you forget your voicemail password, you’ll need to reset it. This process varies by carrier, but typically, you can reset it through your carrier’s customer service or through their website.
- Visual Voicemail Not Available: If visual voicemail isn’t available, ensure your carrier supports it. Additionally, check if your iPhone’s software is up to date, as outdated software can sometimes cause compatibility issues.
Conclusion
Setting up voicemail on your iPhone is a simple yet essential task that ensures you never miss important messages. By following the steps outlined in this guide, you can have your voicemail up and running in no time. Remember, a well-set-up voicemail can not only help you stay on top of your communication needs but also project a professional image to those trying to reach you. Whether you opt for a standard greeting or decide to personalize your message, the key is to ensure your voicemail is accessible and easy to navigate for your callers. With voicemail set up, you can rest assured that your iPhone will capture every vital message, making your communication seamless and efficient.
FAQs: Setting Up Voicemail on iPhone
Why is my visual voicemail not working on my iPhone?
If visual voicemail is not working, first ensure your carrier supports the feature and that your iPhone is connected to a cellular network. Also, check if there are any iOS updates available, as updating your iPhone can resolve software-related issues. If problems persist, restarting your iPhone or resetting network settings may help.
Can I set up voicemail to email on my iPhone?
Directly setting up voicemail to email is not a built-in feature of the iPhone. However, some carriers and third-party apps offer services that can convert voicemails to text or email them to you. Check with your carrier or explore the App Store for voicemail management apps that include this feature.
How do I turn off voicemail on my iPhone?
Disabling voicemail usually requires contacting your carrier, as most do not offer an option to turn off voicemail directly through the iPhone settings. Carrier policies on disabling voicemail may vary.